Last weekend I got the opportunity to meet up with 13 awesomely talented girls and for 4 days and 3 nights we illustrated, created, quilted, collaged, scraped, designed, photographed and wined & dined. We slept in, caught up on our books & mags, went running (or not ;), and took inCREDible uninterrupted showers. (for Mom's with little ones - this is as good as gold).
Cherry on top is that you actually get a ton of stuff done during this weekend. I finally wrapped up a project that I've been working on and off for way way too long: filling some blank frames on my wall (See first initial brainstorm here). I ended up going in a different direction (with thanks to my RoXy and Quicksilver catalogs), but it was fun to collage and it's great to finally have a little more color up on the walls.
Showing posts with label interiors. Show all posts
8.05.2013
3.25.2013
adding color
My walls have been pretty bare and boring since we moved in so I was really happy/relieved to finally get to this project this weekend. I was lucky in that, I already had an old canvas that I had painted, that was framed and ready to go. It was just a matter of painting something new overtop. See some of my inspirations here. It feels SO SO good to get some color in the room. :)
Awesome pillow here. Great wood frame here.


Awesome pillow here. Great wood frame here.


2.18.2013
wall art inspirations
We moved in months ago, but there are still blank canvases and empty frames on the wall. All ready. in place. waiting for me to make some executive decisions on style, medium, colors, etc. I can't decide if I just have too MANY ideas or if I'm just a TAD indecisive. Probably a little of both. ;) Either way, I decided to hunt down some inspirations. Hopefully it will get me to finally put some paint on the palette.
![]() |
| 1 • 2 • 3 |
![]() |
| 1 • 2 • 3 |
![]() |
| 1 • 2 • 3 |
Labels:
art,
art and design,
decor,
interiors,
maps,
painting,
photography
1.16.2013
rustic industrial in the making
For the past year or two I've been loving all the rustic industrial furniture & decor. I just can't get enough of that chunky reclaimed wood + iron bars combinations. I fell hard for orb chandeliers as well. I did some heavy research and deliberating and finally splurged on a fantastic brass one from Ballard Designs. It now hangs in our entry and is often the first thing people see before they even walk through the door. I really want to carry that theme and feel throughout the rest of our entry area and possibly kitchen and the inspirations are endless. Check it out.
amazing full room inspirations:
![]() |
| 1 • 2 • 3 • 4 • 5 • 6 • 7 • 8 • 9 • 10 • 11 |
amazing full room inspirations:
![]() |
| Restoration Hardware |
![]() |
| Home Decorators |
![]() |
| Jane Kim Design |
![]() |
| Industrial Kitchen - Desire to Inspire |
![]() |
| Keegan Kitchen/Family Room |
Labels:
decor,
decorating,
home,
industrial,
interiors,
rustic
12.02.2012
easy berry branches
This is our first holiday season in our new home so I've been having a creative blast figuring out how to decorate and make the house festive. :) So many ideas!!! One of my first decor projects is adding a little something to the large vase/terrarium I have in our living room. I started off with a mini mood board.
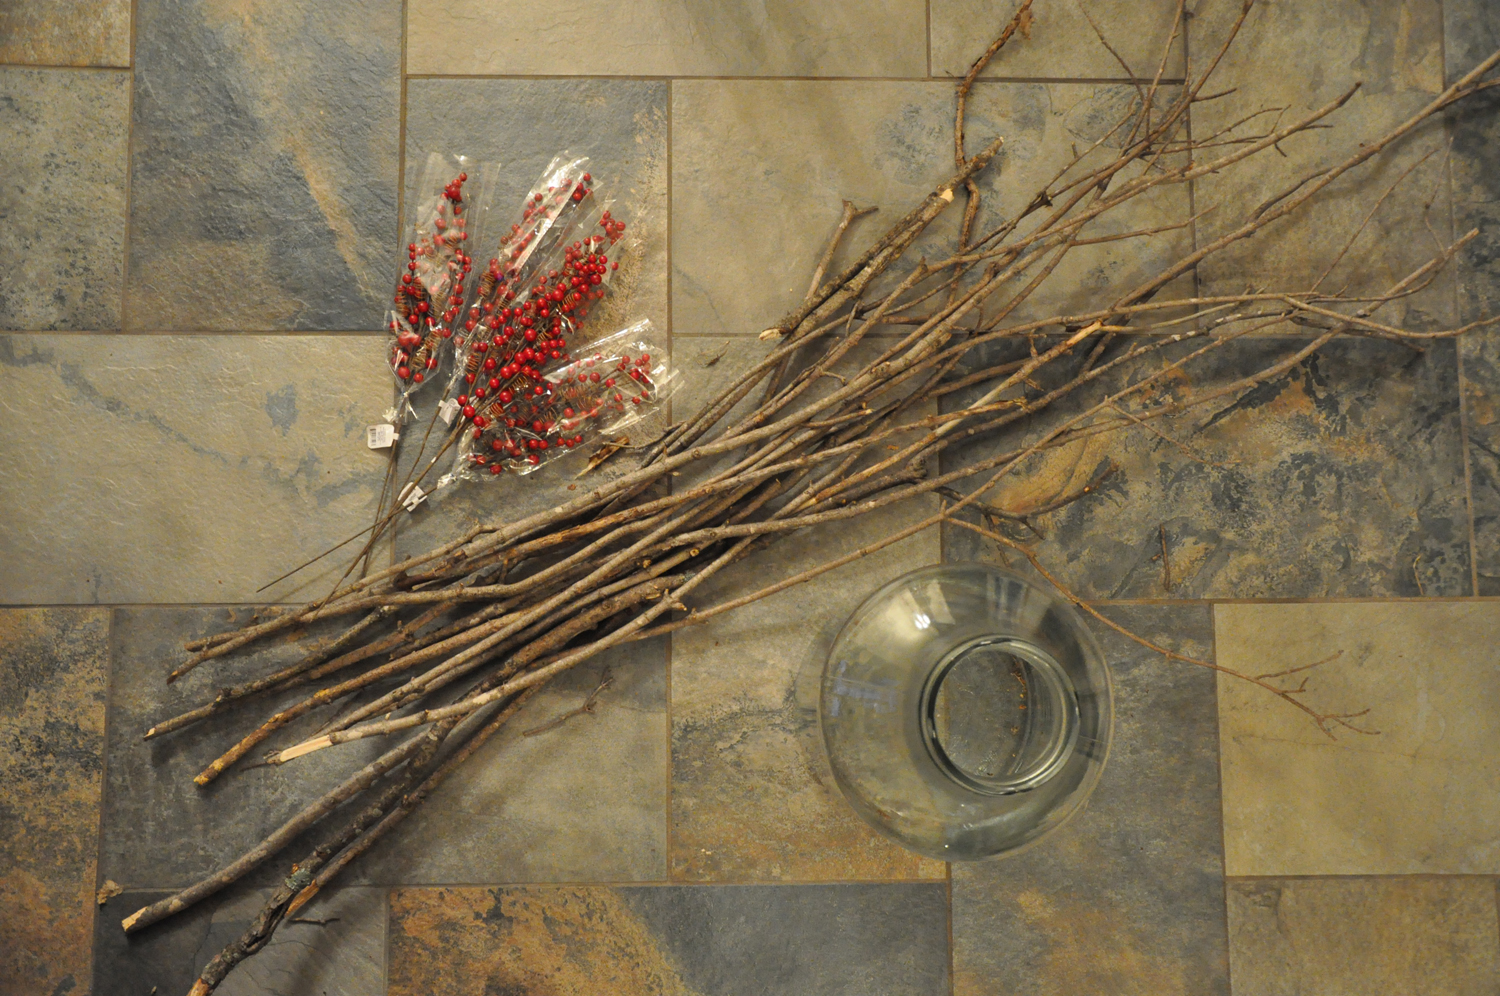
Simply add the sticks to your vase, break and arrange to your liking. Then break apart the berry clusters (you will probably need a small wire-cutter). Bend the berries around the upper parts of the branches and throughout. These Target berries worked great because I was able to use the corkscrew part when wrapping them around to the branches. Super easy!
I was actually thinking it might need a little bit more. Possibly some greenery or lighted branches like these. I decided to experiment a little in photoshop and this is how it could POSSIBLY look:
Lots of options! What I love the most is that I can easily switch out the berries or other greenery to match the seasons or my moods. I like to change things up throughout the year and it's nice to do it on the cheap. My total cost thus far (not counting terrarium/vase I owned before) was only $15. Not too bad.
Luckily I already had picked up a great vase a couple months ago. I found a terrarium at Antiques Americana, a local antique shop, for only $40. Which was a great deal compared to what I've seen out there for even half the size. I had a really hard time finding branches long enough that weren't crazy pricey for each branch. So instead, I bought small faux berries for $3.00/ea bundle at the always awesome, Target. All that was left was collecting a few branches from our woods. :) Tip: grab clean, dry branches that are plenty long. You can always snap them shorter as you design your arrangement.
Simply add the sticks to your vase, break and arrange to your liking. Then break apart the berry clusters (you will probably need a small wire-cutter). Bend the berries around the upper parts of the branches and throughout. These Target berries worked great because I was able to use the corkscrew part when wrapping them around to the branches. Super easy!
I was actually thinking it might need a little bit more. Possibly some greenery or lighted branches like these. I decided to experiment a little in photoshop and this is how it could POSSIBLY look:
Lots of options! What I love the most is that I can easily switch out the berries or other greenery to match the seasons or my moods. I like to change things up throughout the year and it's nice to do it on the cheap. My total cost thus far (not counting terrarium/vase I owned before) was only $15. Not too bad.
Subscribe to:
Posts (Atom)